Completed deburring the rear spar components. I scotchbrited all of the pieces with a maroon pad, and cleaned initially with acetone and again with brake cleaner.
I then primed all of the pieces with a few coats of self-etching primer. For the non-alclad pieces, they were coated with a lacquer finish to give it a little extra protection. You can see the sheen on the aluminum in the photographs.
I also dimpled the upper and bottom flanges where the reinforcement fork is to be riveted as well as the doublers. You can't effectively dimple the flanges after the fork and doublers are riveted on.
The instructions call for certain holes to be countersunk on the W-707F. I have read a number of sites that suggest dimpling to a #30 instead. Just have to remember to do the same for the last piece that attaches. Dimpling is supposed to provide for a stronger joint when rivted compared to countersinking and riveting. That's only if you can safely dimple the aluminum with out disorting it.
Onto riveting in the next couple of days. Been busy with my yearly re-qualification in the T-6, and I also have an airshow meeting tomorrow night, so no work on the plane will be taking place.
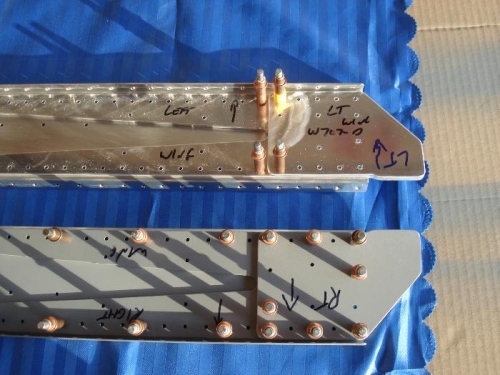
Before and after deburring and priming.
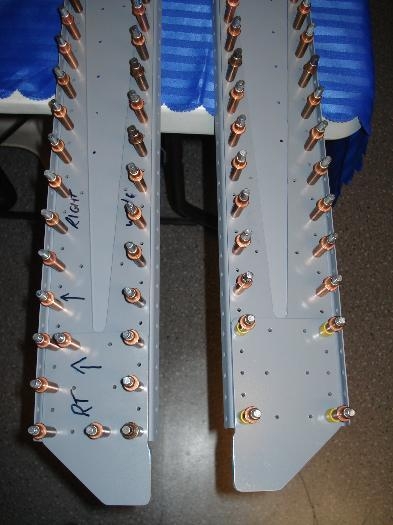
Components primed and clecoed
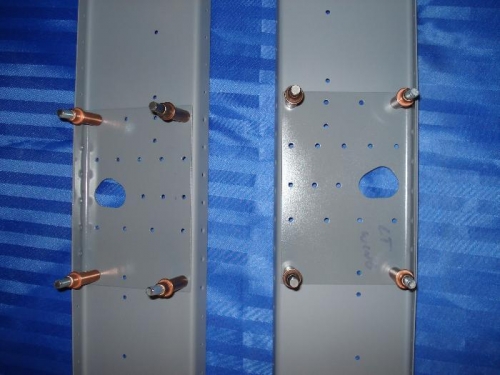
You can see the lacquer added to the doublers for extra protection.